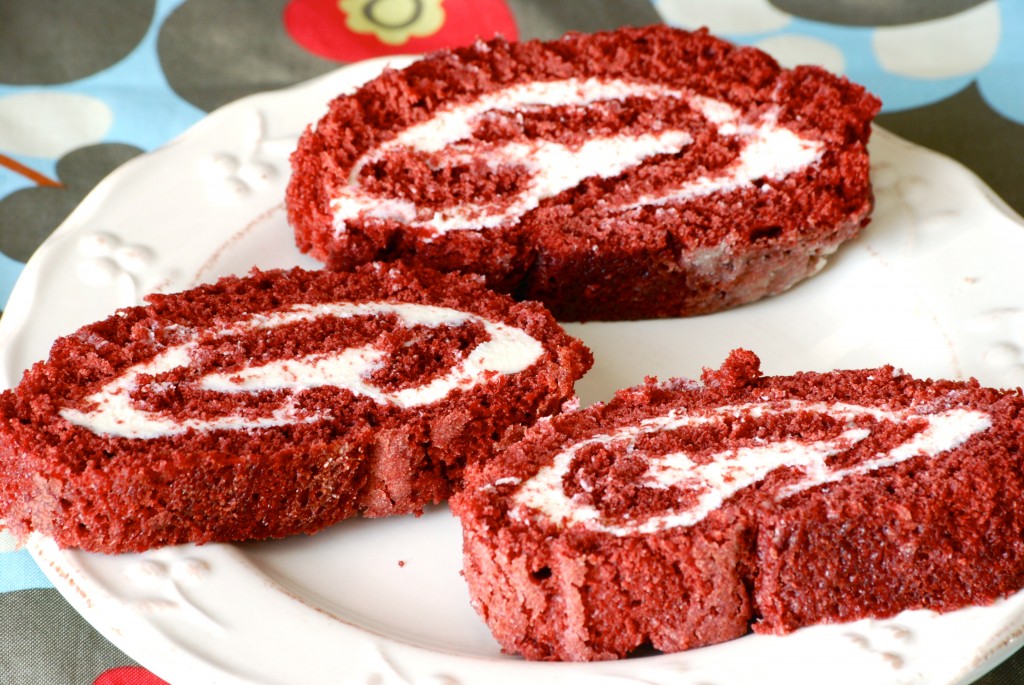
 Happy Valentine’s Day! I’m not big into Valentine’s, I’m more in the camp of let’s celebrate love all year with special surprises. That being said, I don’t dislike valentine’s, we just don’t usually go all out. We usually will make a nice dinner and stay in, though last year we got takeout and it was so nice to not have to worry with dishes, so we are going to do the same this year. I think we are going to get pizza from a local spot and I have a couple of movies in the DVR we are going to watch. Just very low key. What about you, what are your valentine plans?
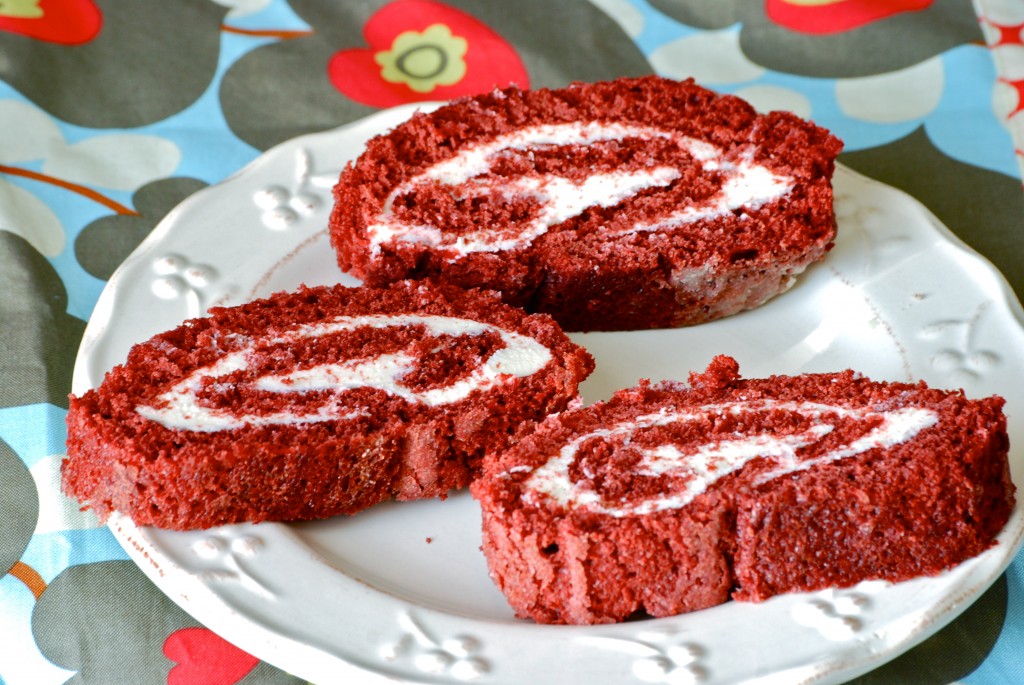
Even though I may not go all out for this holiday, I do love any excuse to bake! Red Velvet seems like the perfect way to celebrate so I decided to try my hand at this cake roll that I found on Mel’s Kitchen Cafe. I’ve never made a cake roll before and it turned out really good! She has a great method and step-by-step photos so definitely check out her site for more detailed photo instructions. I had to make this about 24 hours in advance of serving it which caused to to dry out a bit, so I would recommend making it the day of to keep it nice and moist. However, I was apparently the only one that thought it was a bit dry because everyone that ate it really liked it and one lady at Adam’s office said it was her favorite thing that I have made. The icing was the star of the show and would be great topping cupcakes or chocolate cake too!
Red Velvet Cake Roll
Source: Mel’s Kitchen Cafe
Ingredients:
For the Cake:
1 cup all purpose flour
2 tbsp. unsweetened cocoa powder
1/2 tsp. baking soda
1/8 tsp. salt
1/2 cup milk
1 tsp. vanilla
1 tsp. apple cider or white vinegar
1 stick unsalted butter, room temperature
3/4 cup sugar
1 large egg
1/2 fl. oz. red food coloring
For the White Chocolate Cream Cheese Frosting:
8 oz. cream cheese, softened
5 oz. white chocolate, melted
4 tbsp. (1/2 stick) butter, softened
1/3 cup confectioner’s sugar
Directions:
For the Cake:
Move your oven rack to the middle rack. Preheat oven to 375 degrees. Spray a small area of cooking spray onto the center of a 10.5 x 15.5 inch rimmed baking sheet. Line pan with foil, allowing it to overhang a couple of inches. Spray the foil liberally with cooking spray, then flour it. Tap off any excess flour, set aside.
In a medium sized bowl, whisk together, flour, cocoa, baking soda, & salt, set aside.
In a small bowl, whisk together milk, vanilla and vinegar, set aside.
In the bowl of a stand mixer cream the butter on medium low speed until creamy, approximately 1 minute. Increase the speed to medium, and pour the sugar into the bowl in a steady stream. Mix until light and fluffy, scraping down the bowl if necessary. Reduce speed to low and add in the egg. Beat until incorporated.
Add in the flour and milk mixtures in batches, starting and ending with the flour mixture, beating in between each batch (start with 1/3 of the flour mixture, then 1/2 the milk mixture, then 1/3 flour mixture, then 1/2 milk mixture, ending with 1/3 flour mixture). Scrape down the bowl when necessary. Once flour & milk mixtures are fully incorporated, add in food coloring and beat until uniform in color. Immediately pour batter into the prepared baking sheet and spread evenly.
Bake for approximately 10 minutes, until cake is set on top and springs back when touched. Run a knife along the edges of the cake to release the foil. Very carefully lift cake from pan, using the foil overhang and transfer to wire rack to cool. Immediately place a sheet of foil over the cake, making a shallow tent to keep the moisture in. Allow the cake to cool completely for at least 45 minutes.
For the Frosting:
Melt white chocolate in a double boiler over a pot of simmering water.
In the bowl of a stand mixer, beat cream cheese until smooth. Add in half of the melted white chocolate and beat to combine. Scrape down the bowl and add the remaining chocolate. Beat until just combined. Mix in the butter and then then confectioner’s sugar. Beat until smooth and creamy in consistency.
For Assembly:
Remove the foil tent from the top of the cake and using the bottom piece of foil, transfer the cake to a work surface. Spread frosting onto cake, leaving a 1/2 inch border around the edges. Beginning with the left short side of the cake, begin to roll the cake up onto itself, using the foil to aid you. Continue rolling until you reach the other short side, keeping the foil around so your hands remain clean. Place the rolled up cake in the foil onto the left third of a 24 inch long piece of parchment paper. Bring the right side of the parchment paper over top of the cake roll, leaving a 2 inch overhang. Place the cooling rack to the left of the roll, length wise, at a 45 degree angle. Gently pull on the overhang of the parchment paper, while pressing the cooling rack against the cake. This will help to compress the cake and help to hide cracks.
Gently lift the cake roll in it’s foil and carefully unroll and transfer onto a fresh sheet of aluminum foil. Wrap tightly in the foil, place on a baking sheet or flat surface and place in the refrigerator for at least 30 minutes for the cake to set.
To Serve:
Remove cake from foil, and cut into slices, using a serrated knife. Dust with confectioner’s sugar if desired.
Here’s a visual of how you can compress the cake to help eliminate cracks. Hope you enjoy!






 Welcome! I'm Stephanie, a thirty something girl loving life with my husband Adam and our two little miracles living in gorgeous Southeast Tennessee. I'm passionate about Jesus, traveling, sports (Go Titans!), and of course food! Read more about me
